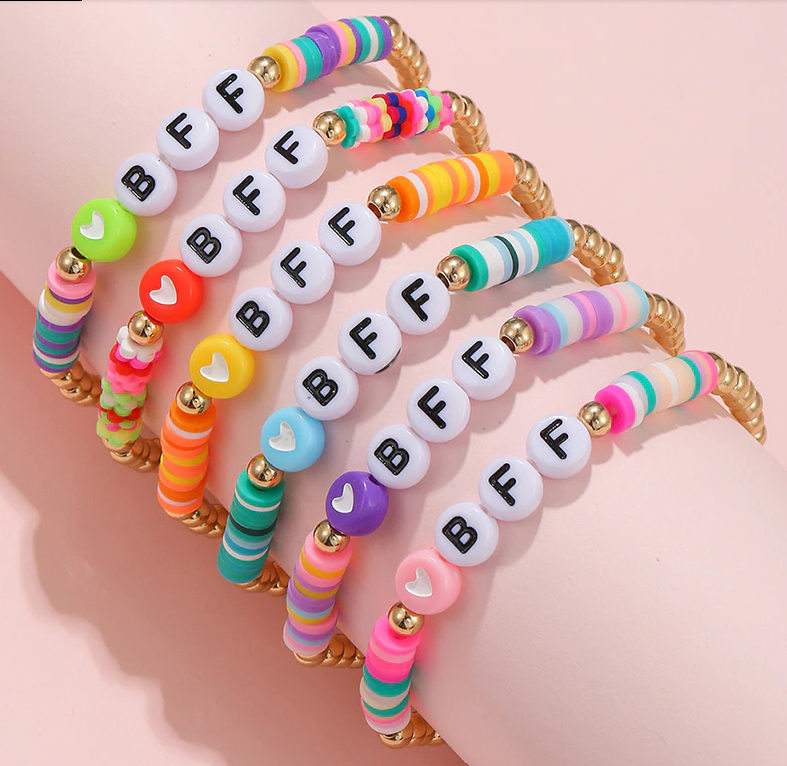
Introduction to Do It Yourself (DIY) Friendship Bracelets
Welcome to One Lucky Wish! In this comprehensive guide, we will walk you through the process of making beautiful friendship bracelets. Whether you’re a beginner or have some experience in crafting, we’ve got you covered. Our step-by-step instructions, accompanied by detailed illustrations, will help you create stunning bracelets that will make your friends envious. Let’s dive in!
Materials You’ll Need
Before we get started, let’s gather the materials required for this project. Here’s a list of what you’ll need:
– Colored embroidery floss
– Scissors
– Tape or safety pin
– Clipboard or tapestry needle (optional)
Step 1: Choosing Colors and Patterns
Friendship bracelets are all about personalization, so take some time to decide on the colors and patterns you’d like to incorporate. You can choose a rainbow of hues or stick to a specific color scheme. The choice is yours! Consider the recipient’s preferences and the occasion for which you’re making the bracelet.
Step 2: Preparing the Threads
To begin, cut several strands of embroidery floss, each measuring approximately 24 inches in length. You’ll need two strands of each color you’ve chosen. Once cut, align the ends of the threads and tie a knot, leaving a short tail.
Step 3: Securing the Bracelet
Take the knotted end of the threads and secure it using tape or a safety pin. This will anchor the bracelet as you work on it. You can attach it to a clipboard or use a tapestry needle to hold it in place if desired.
Step 4: Creating the Base
Start by taking the thread on the far left and making a forward knot around the thread next to it. Repeat this process, working your way from left to right, until you’ve made a forward knot with each thread. This will create the foundation for your friendship bracelet.
Step 5: Adding Colors and Patterns
Now comes the fun part—adding colors and patterns! There are numerous techniques you can use, but we’ll cover the classic diagonal stripe pattern for simplicity. Here’s how:
1. Take the leftmost thread and make a forward knot around the thread next to it.
2. Repeat this process, moving from left to right, until you’ve made a forward knot with each thread.
3. Continue this pattern for the desired number of rows.
4. To create a diagonal stripe effect, change the color order by rearranging the threads before each row.
Feel free to get creative with different patterns, such as chevrons, hearts, or even names spelled out using the “alpha” pattern. Alpha patterns are a type of friendship bracelet pattern with horizontally tied knots. Alpha patterns are often used to make designs with letters or simple images. The charts for Alpha patterns look like a grid.
Step 6: Finishing Touches
Once you’ve reached the desired length for your bracelet, it’s time to finish it off. Here’s how:
1. Trim any excess thread, leaving a short tail.
2. Tie a knot at the end of the threads, ensuring it is secure.
3. Remove the bracelet from the tape or safety pin.
Congratulations! You’ve successfully created a beautiful friendship bracelet.
Maintenance Tips
To ensure the longevity of your friendship bracelet, follow these simple maintenance tips:
– Avoid exposing the bracelet to excessive moisture, as it may cause the threads to weaken.
– If your bracelet gets dirty, gently hand wash it using mild soap and cool water.
– Store your bracelet in a dry place to prevent tangling and damage.
Making friendship bracelets is fun!
Making friendship bracelets is a delightful and fulfilling craft that allows you to express your creativity while spreading joy to others. With our step-by-step guide, you’re now equipped with the knowledge and skills to create stunning bracelets that will stand out. Remember to have fun experimenting with colors, patterns, and techniques to make each bracelet unique and special.
At One Lucky Wish, we believe in the power of handmade gifts and the connections they foster. By creating personalized friendship bracelets, you’re not only engaging in a fun and creative activity but also expressing your love and appreciation for your friends.
So gather your materials, let your imagination run wild, and start crafting beautiful friendship bracelets that will leave a lasting impression. Whether you’re making them for a birthday, a holiday, or just to show someone you care, these handmade treasures will surely bring a smile to anyone’s face.
Remember, the joy of friendship bracelets is not just in the final product but also in the process itself. Enjoy the meditative rhythm of knotting and the satisfaction of seeing your creation come to life. Embrace the opportunity to slow down, unwind, and channel your creativity into something tangible and meaningful.

